

How to Install a Hair System at Home: A Step-by-Step Guide
- Written by Winter Li
- | Published Aug 23, 2024
- | Updated Sep 22, 2026
- |
- 5 min read
 Listen to the full text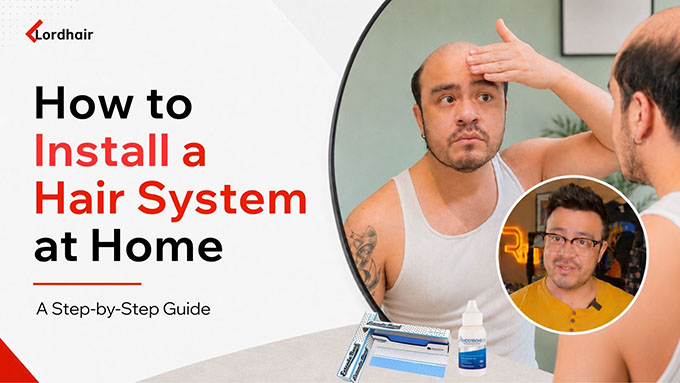
Key Takeaways
- A hair installation is the process of attaching a hair system to your scalp with tape or glue.
- Tape is easier for beginners. Glue gives a cleaner hairline but takes more practice.
- Your hairline should sit about 4 finger-widths above your eyebrows.
- First installs take longer. Speed and confidence come with repetition.
What hair system installation actually means
Should you install it yourself or go to a salon?
DIY and using a stylist each have their advantages. It depends on the time and money you'd like to put into it.
Doing it yourself
You need some time to learn and practice the skills. But once you've got the steps down, it's quick and costs you less. You don't need to book appointments or wait around. You just set aside a few minutes, do your routine, and get on with your day. The first couple of tries might feel slow, but that's normal. Speed comes fast once your hands know what to do.
Most of the beginner mistakes, like adhesive not sticking or the hairline looking off, get fixed with small tweaks. It just needs a little patience at the start.
Going to a salon (if you'd rather not do it yourself)
Some guys prefer to have a stylist handle it. A stylist who is experienced with hair systems can help with styling and installation. That's a fair option too. Especially for a beginner, it will make your start less stressful. When you have mastered the basics, you can switch to DIY installation. It's what most Lordhair customers end up doing long-term.
Tape vs. glue: which one to use
Hair system tape
Hair system glue
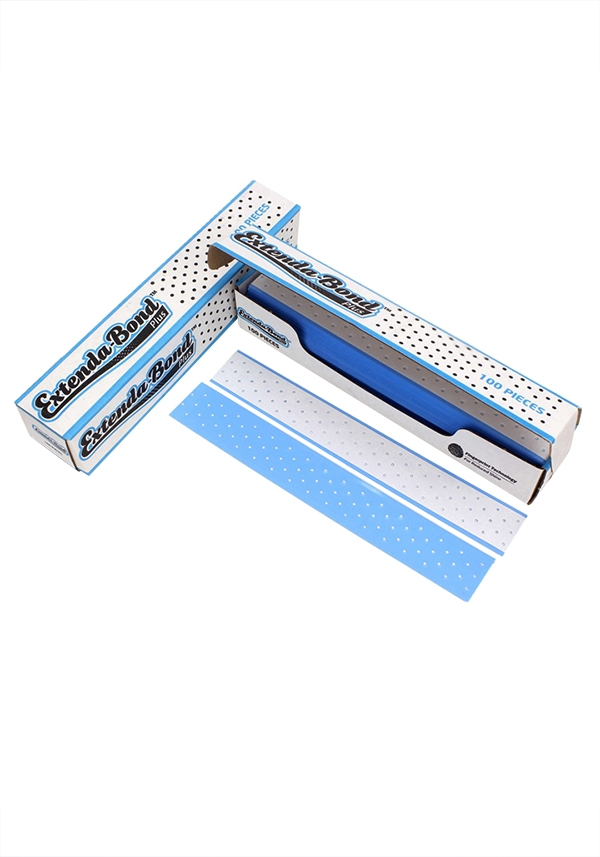
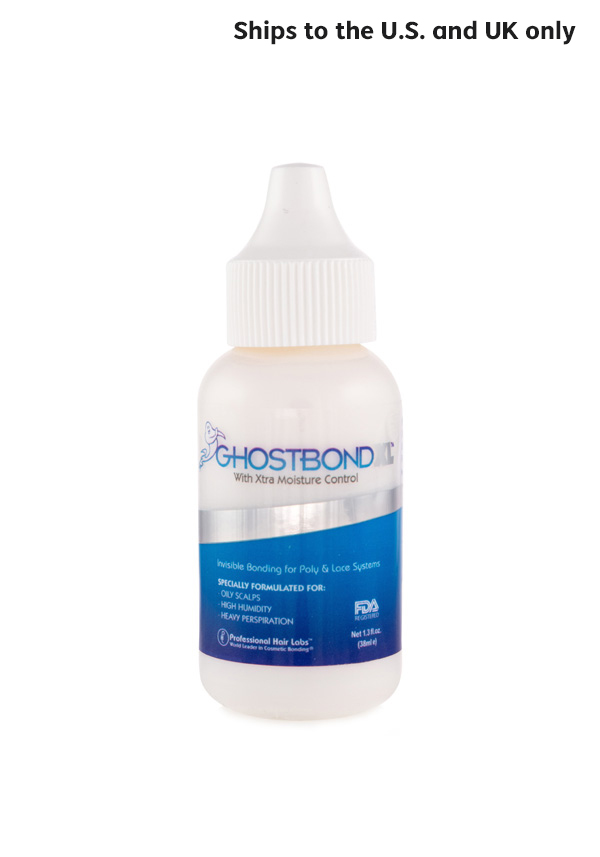
Can you use both at the same time?
How to install a hair system — step by step
Step 1: scalp prep
Step 2: Mark your hairline
Step 3: Apply adhesive to the base
Step 4: Position and press
Step 5: Blend and finish
How to Attach a Hair System with Tape
How to Attach a Hair System with Gule
What to expect the first few times
Tips for beginners in the early stages:
-
Do your first install at home with good lighting and no time pressure.
-
Mark your hairline every time until positioning feels automatic.
-
If the system lifts on one side, don't force it; lift that section, reapply adhesive, and press again.
-
Change your tape regularly. When the old tape loses hold, it becomes harder to remove.
Ready to get started?
 WHATSAPP
  EMAIL
EMAIL FAQs
What is hair system installation?
A hair installation is the process of attaching a hair system to your scalp with tape or glue. It includes scalp prep, adhesive application, positioning the system, and blending the hair. It's a removable process, not permanent.
How long does hair system installation take?
Your first install will probably take 30–40 minutes. That's fine. Everyone starts there. Most guys get it down to 10–15 minutes after a few tries, and some experienced wearers can finish it in under 5 minutes.
How do I know where to place my hairline?
A common rule that suits most people is 4 fingers above your eyebrows. That's approximately where your natural hairline used to be. Marking the position with an eyebrow pencil can help you place the hairpiece in the right position for a natural look.
Four fingers above your eyebrows is a common starting point. Use an eyebrow pencil to mark the hairline before you apply any adhesive. It's much easier to adjust a pencil line than a system that's already stuck down.
How often do I need to reattach a hair system?
Most wearers reattach a hair system every two weeks. How long your adhesive lasts depends on your activity level, how much you sweat, and how well you maintain the system day to day. If you're active or live in a hot climate, you may need to reattach more often. Keeping the bonding area clean and dry extends hold time.
Is tape or glue better for first-time users?
Tape. It's more forgiving, simpler to apply, and easier to remove and clean than glue. Pre-cut contour tapes are especially useful for beginners since they're already shaped to fit the edges of a hair system base. Glue is worth learning once you're comfortable with the installation process. It gives a cleaner finish around the hairline.