


How to Attach a Full Thin Skin Hair System
- by Ray Fernandez
- Dec 29, 2017
- |
- 3 min read
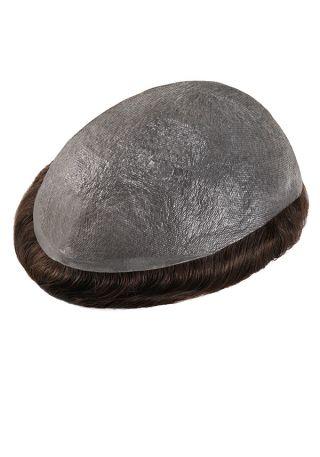
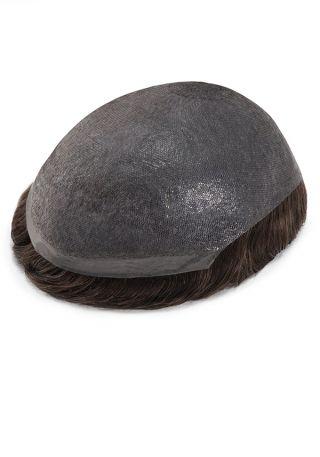
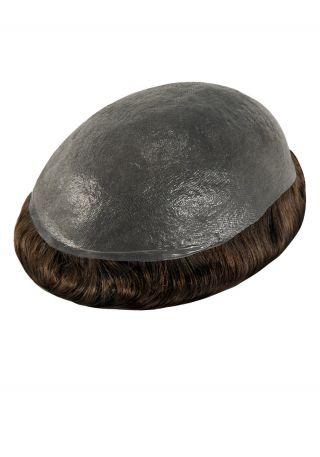
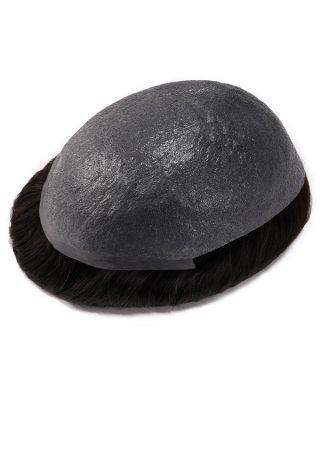
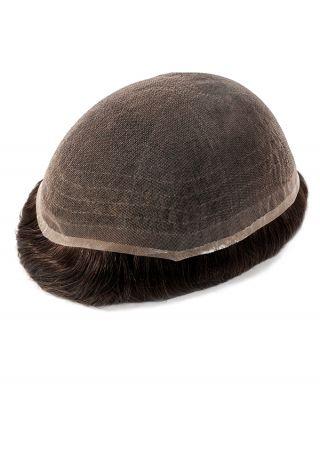
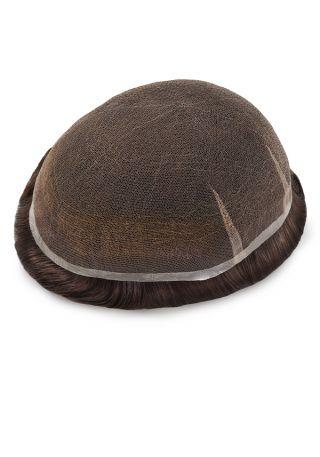
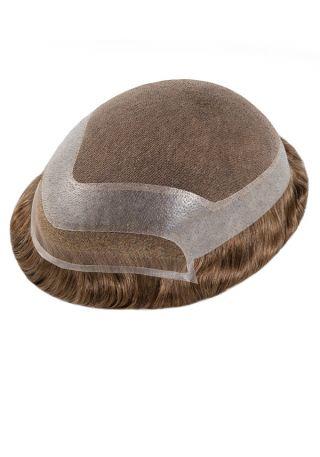
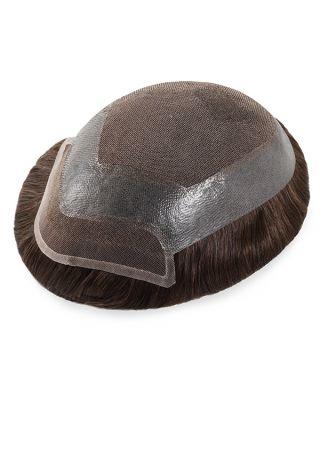
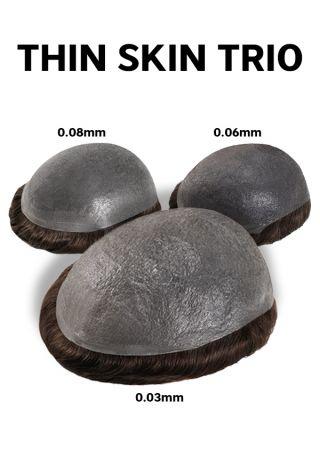
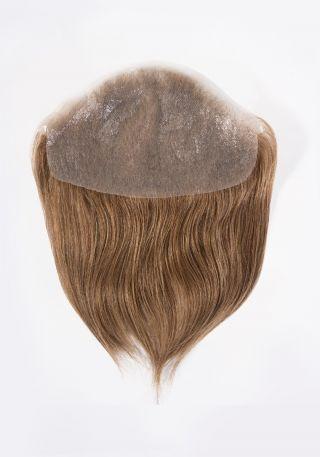
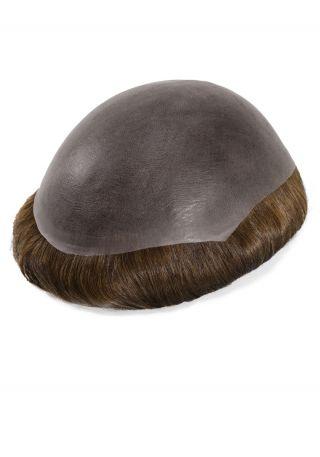
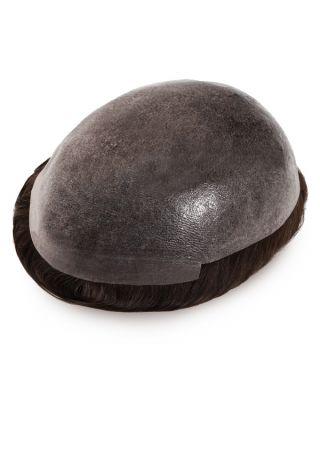
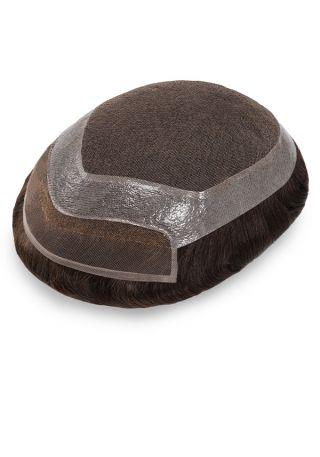
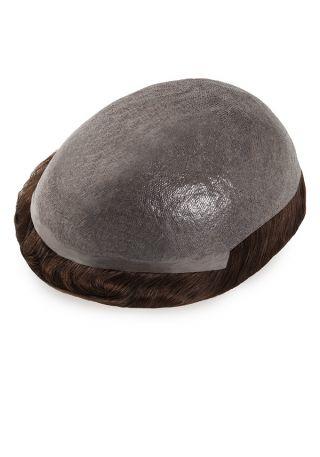
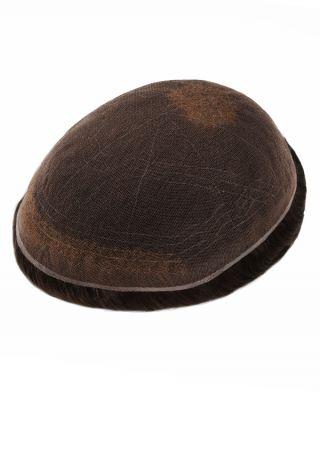
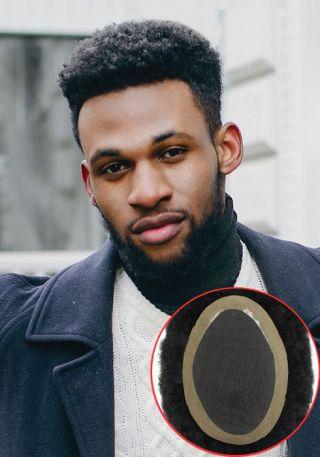
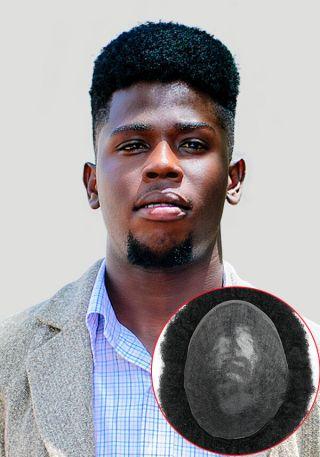
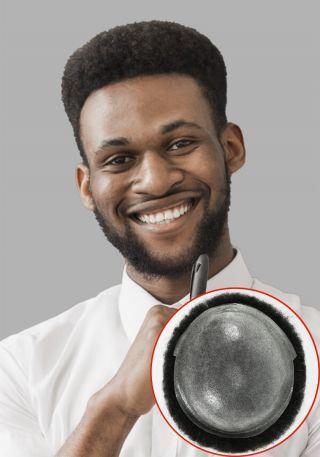
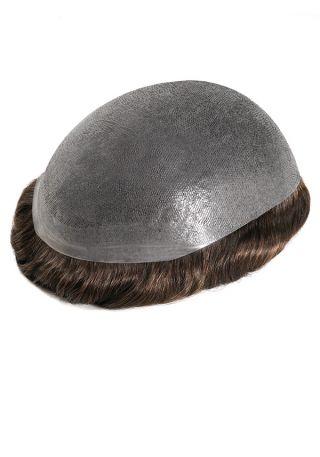
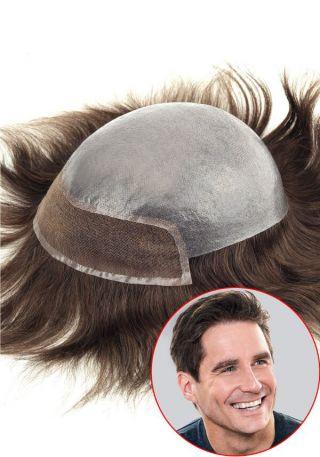
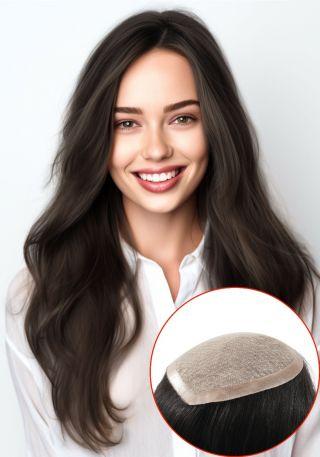
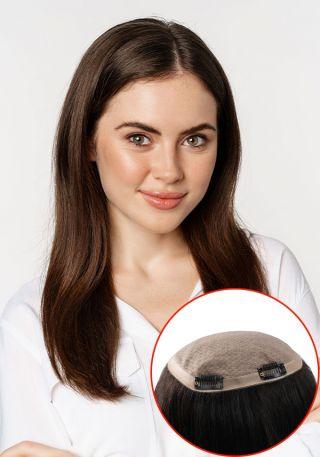
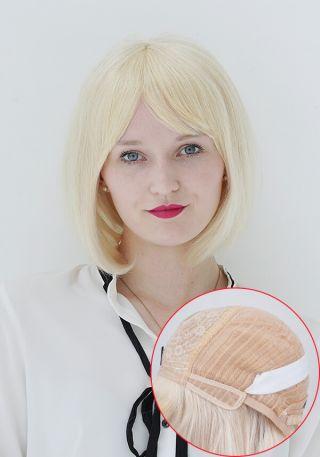
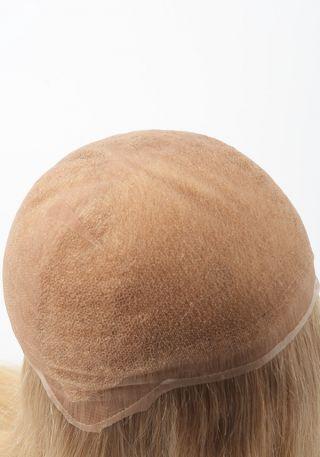
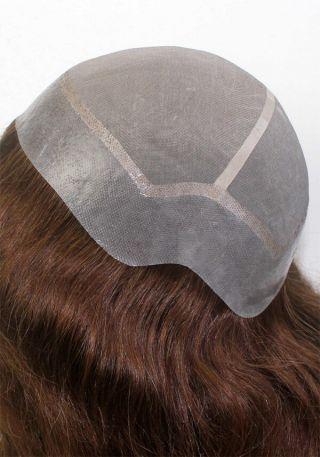
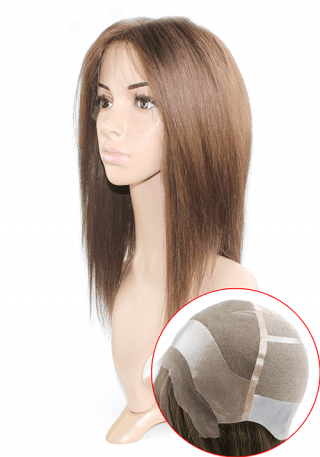
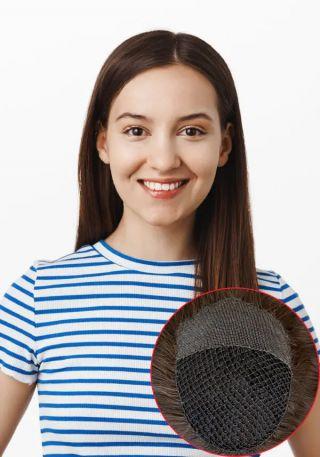
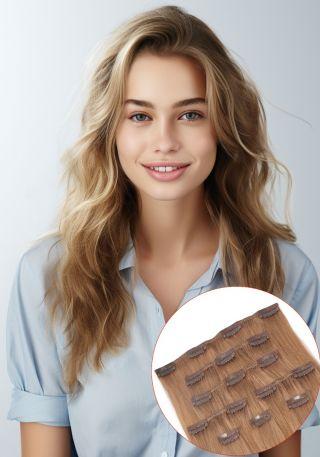
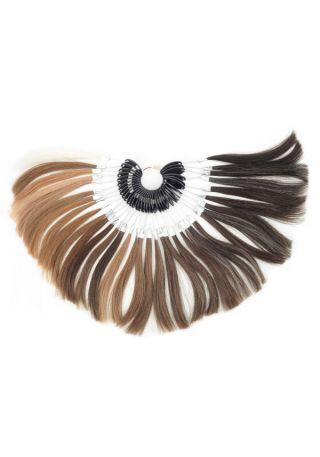
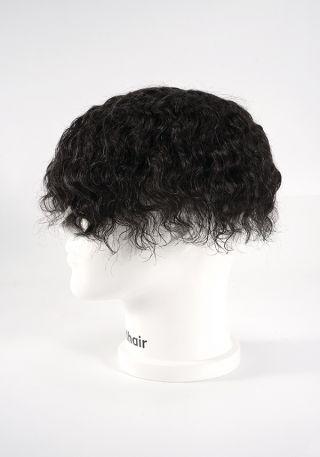
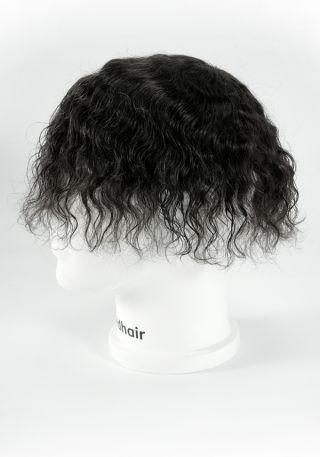
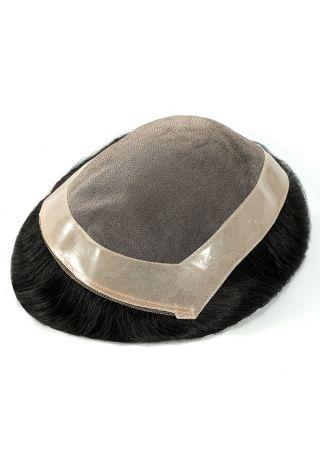
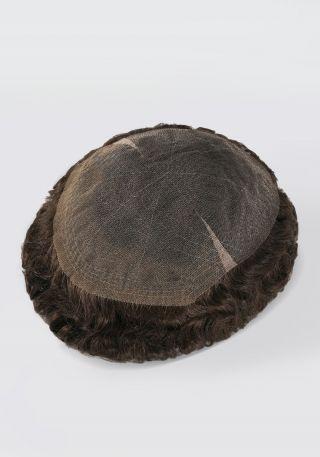
Thin Skin Hair Replacement Systems are well-known for being natural looking and easy to handle. So more and more clients prefer to fit them by themselves at home. Below we will give you some guides and tips about fitting a full thin skin hair replacement system like our models S1, S1-V, S22, S1-INS etc.
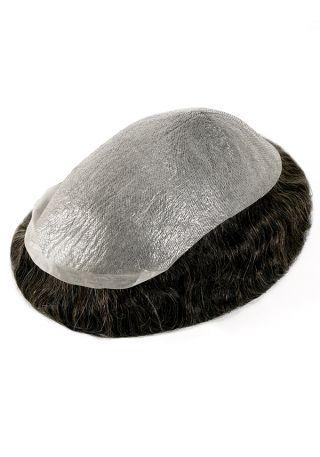
Step 1: Prepare the new system
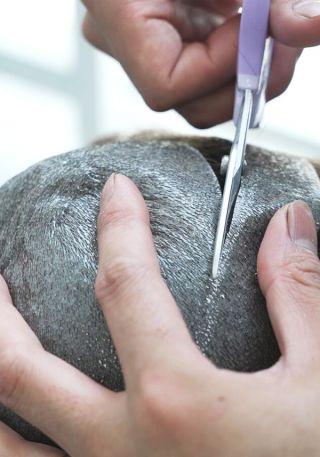
Cut the base down to your size.
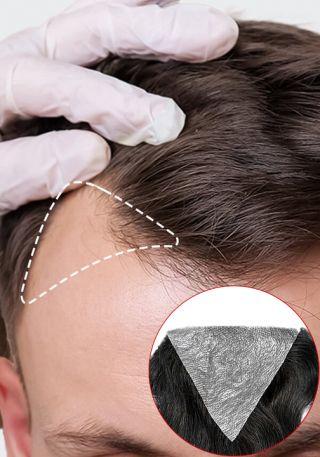
Cut off the extra skin along the very front hairline.
Wet the hair before cutting the extra skin so you have more control over not cutting the hair. If you cut the hair, there will be tiny short pieces hanging in front of the hairline which will make it look unnatural.
Step 2: Prepare your scalp
Remove your old system: spray the remover around the edge of the old system. Start removing from the back to makethe procedure less painful.
Wipe adhesive residue from your head with a wet towel or cloth. Use adhesive remover if needed.
Shampoo your head at least twice to make a thoroughly clean.
Fully dry your scalp, if possible use a blow dryer to remove excess moisture.
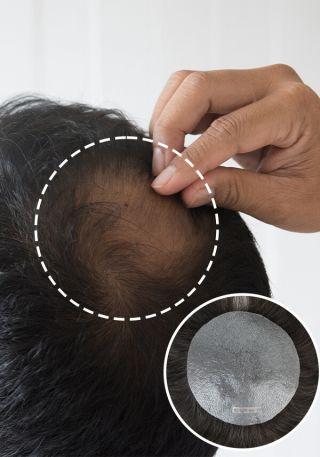
Shave any hair or stubble from the bonding area.
Thoroughly clean the bonding area with an alcohol-based cleanser and cotton wool.
Use an eyebrow pencil to mark a few dots on your scalp along the edge of the system. Make sure you have your hairline 4 fingers above your eyebrows.
A layer of scalp protector is recommended to be applied to your skin to help protect your skin and encourage adhesion with the adhesive.
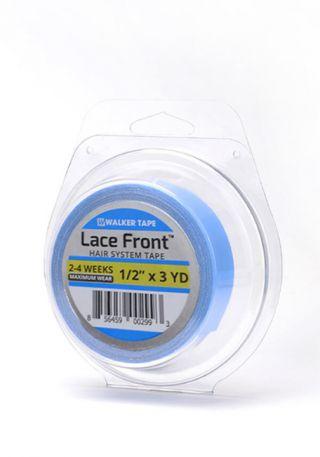
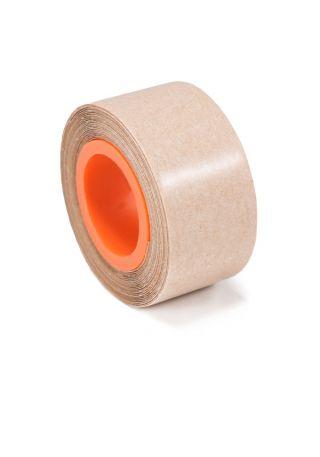
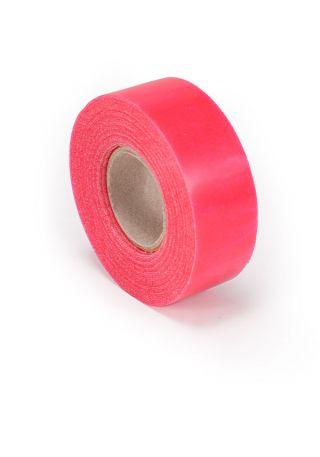
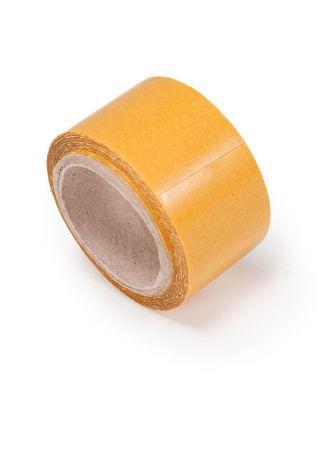
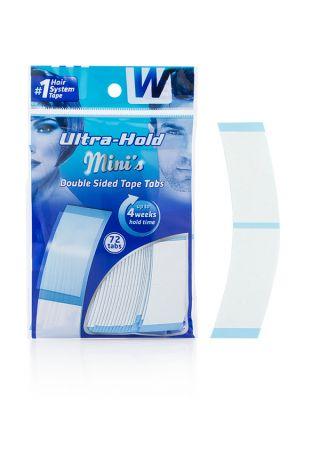
Step 3: Apply adhesive
Brush a very thin, even layer of adhesive on your scalp up to the dots, but do not cover the dots.
Allow the adhesive to dry before brushing the second layer if needed. We strongly recommended that you do not apply more than 3 coats. A Hair dryer is recommended to speed up the drying time of each coat. Remember to use it on a low heat setting.
Carefully wipe the dots off your head.
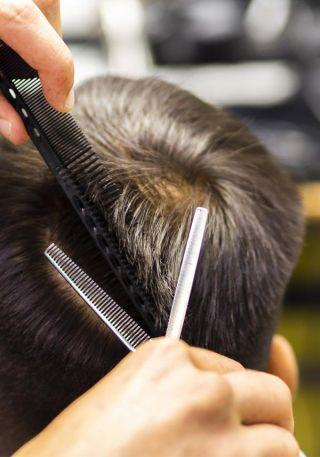
Step 4: Attach the new hair system
Make sure the adhesive is completely dry before applying your new hair system.
Gently position the system from the very front hairline over the adhesive. Make sure to hold the hair so it doesn't touch the glue.
When applying, stretch it out a little bit to make sure there are no bubbles.
Once you have positioned the hair replacement system to your satisfaction, use the flat edge of a comb to firmly press the unit on the scalp for 1 minute.
Keep your system dry and perspiration-free for 24 hours after attachment.
Removing tips:
Spray remover all around the perimeter and wait for a couple of minutes for the adhesive to release.
Gently lift the base away from the scalp. In order to avoid damaging your front hairline, we always recommend that you remove your hair system from the back to the front.
Shampoo your head.
We hope the above guide can help you do a perfect fitting by yourself. If you have any further questions, feel free to contact support@lordhair.com